Clear findings you can use
We explain whether the conditions indicate active growth, past moisture damage, or elevated humidity risk, and what that means for next steps.
Serving Naperville, Illinois & surrounding areas
Mon–Fri 8am–6pm · Sat 9am–2pm
If you smell a musty odor, see staining, or have had a leak, an inspection pinpoints where moisture is getting in and whether mold is active. DuPage Mold Solutions provides clear findings, photo documentation, and practical next steps for homes and businesses in Naperville.
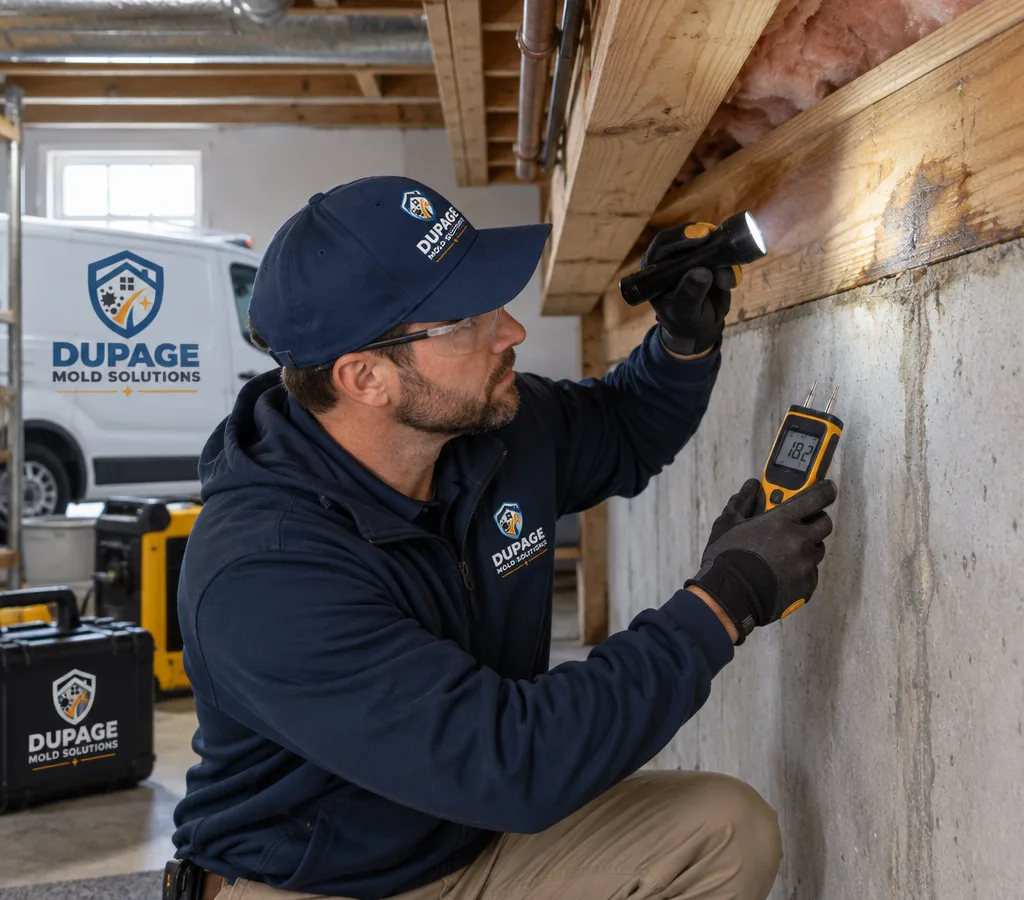
A proper Naperville mold inspection does three things: confirms whether mold growth is present or likely, identifies the moisture source that allows it to grow, and documents conditions in a way you can act on.
In Naperville, we often see mold concerns after roof or window leaks, sump or foundation seepage, plumbing failures, and humidity issues in basements and crawlspaces. Condensation problems can also appear around exterior walls, attic hatches, bathroom exhaust fans, and HVAC supply or return imbalances. An inspection should connect what you see or smell with the building conditions driving it.
You receive straightforward answers: where the suspect areas are, what was measured, what those measurements suggest, and what the next step should be. If removal is needed, we can explain how that work is typically contained and performed before any demolition begins.
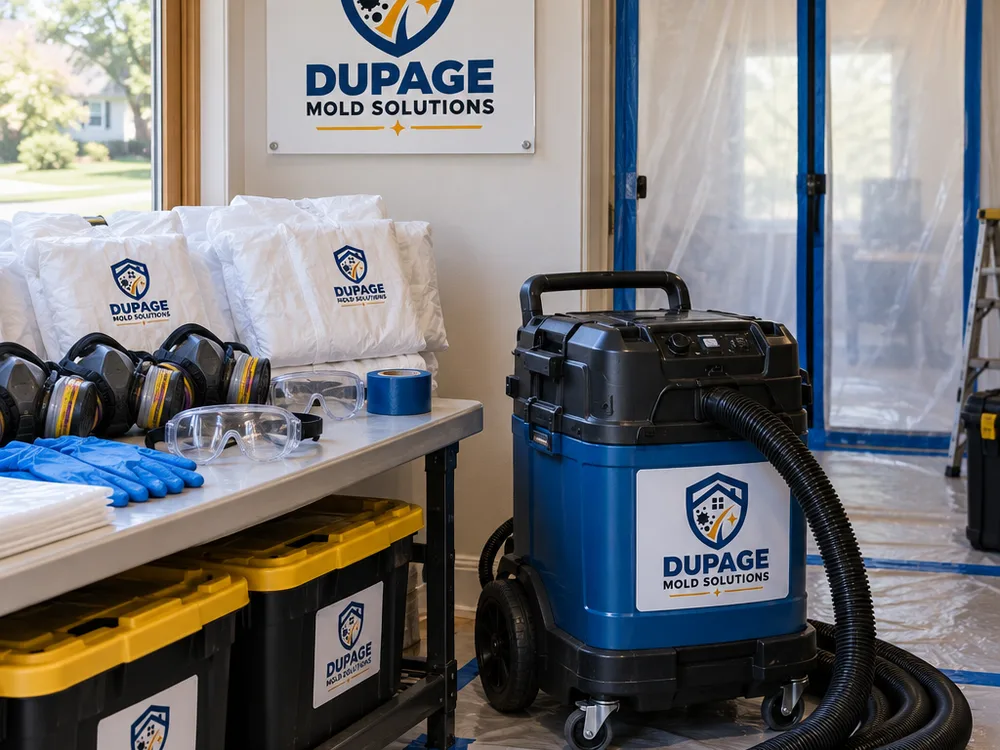
If you are planning the next step after findings are confirmed, our team can also walk you through typical containment, cleaning, and post-remediation verification expectations.
Most mold problems are moisture problems with a biology component. That is why our mold inspection in Naperville, IL focuses on building science basics before any lab work.
Typical inspection elements include:
When we take samples, we treat them as evidence, not as a shortcut. The goal is to answer a practical question: what needs to be corrected and what areas truly need controlled remediation.
Book Your Free Inspection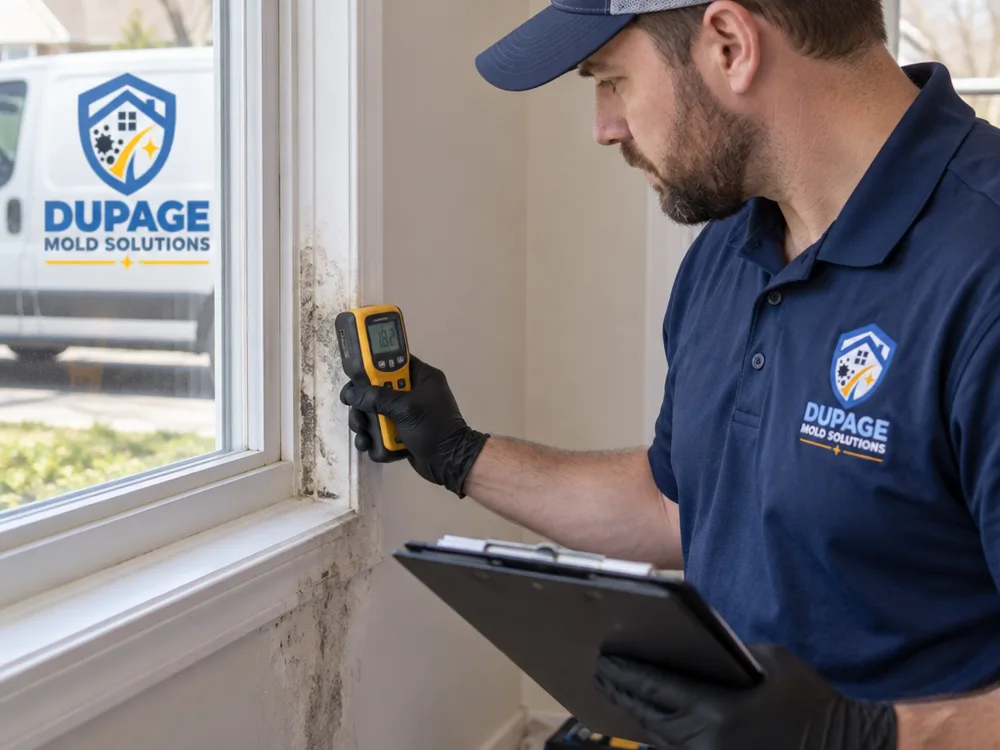
We explain whether the conditions indicate active growth, past moisture damage, or elevated humidity risk, and what that means for next steps.
You get photos of the areas of concern and any key contributing conditions we find, like staining, wet materials, or ventilation issues.
We record moisture readings and observed building conditions so you have a baseline for repairs and verification later.
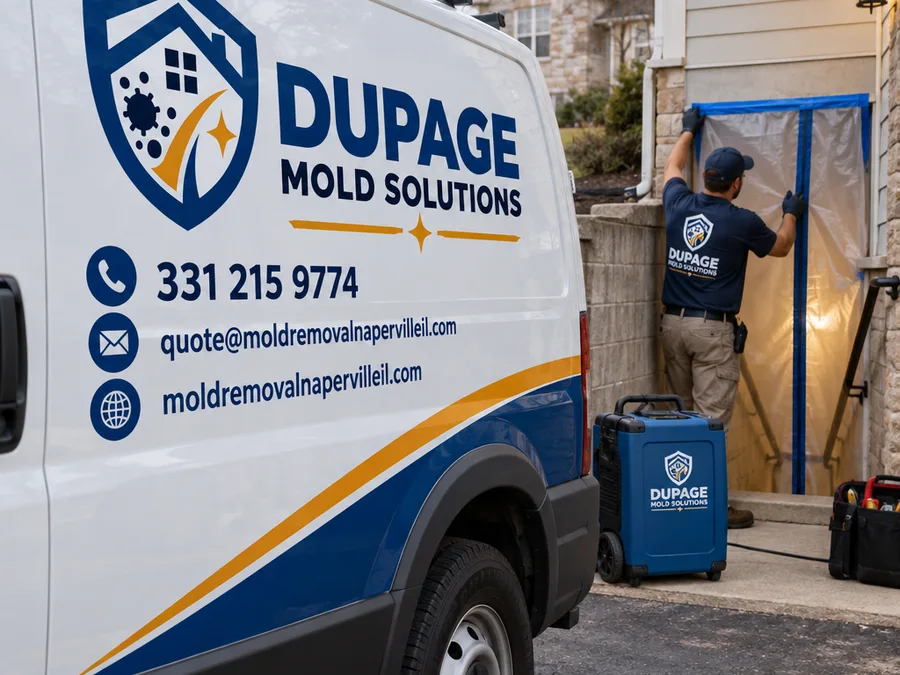
If remediation is appropriate, we outline practical containment and work-sequence considerations so you can plan with confidence.
We separate what should be addressed immediately, such as active moisture, from repairs, upgrades, and monitoring that can be scheduled.
Every property is different, but certain patterns show up repeatedly during Naperville mold inspection visits.
Basements after heavy rain or seepage: Finished basements can hide moisture behind baseboards, under carpet, and at the bottom edge of drywall. Even when surfaces look dry, framing and insulation can stay damp.
Attics with ventilation or roof issues: Mold-like staining on sheathing often traces back to poor airflow, bathroom fans venting into the attic, or roof leaks. The correct fix depends on whether the problem is bulk water or condensation.
Bathrooms and laundry rooms: Repeated humidity spikes, slow supply-line leaks, or failed caulk and grout can feed localized growth behind vanities and around tubs or showers.
HVAC and ductwork concerns: A clogged condensate drain, wet coils, or poorly insulated ductwork can create persistent dampness. We look for the conditions that keep materials wet, not just visible spotting.
If you are selling, buying, or dealing with landlord-tenant documentation, we can tailor reporting to support clear decisions while keeping the inspection grounded in what the building is actually doing.
Step 1 of 4
We start with what you have noticed: odors, staining, recent leaks, past flooding, plumbing repairs, and any health sensitivities in the household or workplace.
Step 2 of 4
We inspect the reported area and the spaces around it, then use moisture mapping to determine where water has traveled and which materials may be affected.
Step 3 of 4
If sampling will materially help the decision, we collect air and/or surface samples in a controlled way and document locations so the results are meaningful.
Step 4 of 4
You get a plain-English summary of what we found, what is likely causing it, and what steps make sense next, including repair priorities and remediation considerations.
Mold inspection in Naperville typically ranges from about $250 to $750+, depending on the size of the property and whether sampling is needed. A straightforward, single-area inspection is usually at the low end, while larger homes, multi-room investigations, or inspections that include multiple lab samples trend higher.
Pricing changes with access, including tight crawlspaces and finished basements, the number of areas evaluated, how much moisture mapping is required, and the number and type of samples requested. The exact cost is confirmed after we understand the property and the goal of the inspection.
Schedule an inspection when you have recurring staining or odors, any recent leak or seepage, visible growth on porous materials such as drywall, insulation, or framing, or symptoms that seem tied to one area of the building. Surface cleaning can remove what you see, but it does not tell you whether moisture is still present behind finishes or whether the source is active.
No, sampling is not always necessary; many situations are decided by moisture mapping, visual assessment, and identifying the water source. Air or surface sampling is most useful when documentation is needed for real-estate decisions, when the affected area is not visible, or when you need a baseline for a clearance plan after remediation.
Most inspections take 60 to 120 minutes on site, depending on the size of the property and how many areas need moisture mapping. Larger homes, finished basements with multiple rooms, or situations that require careful sampling can take longer.
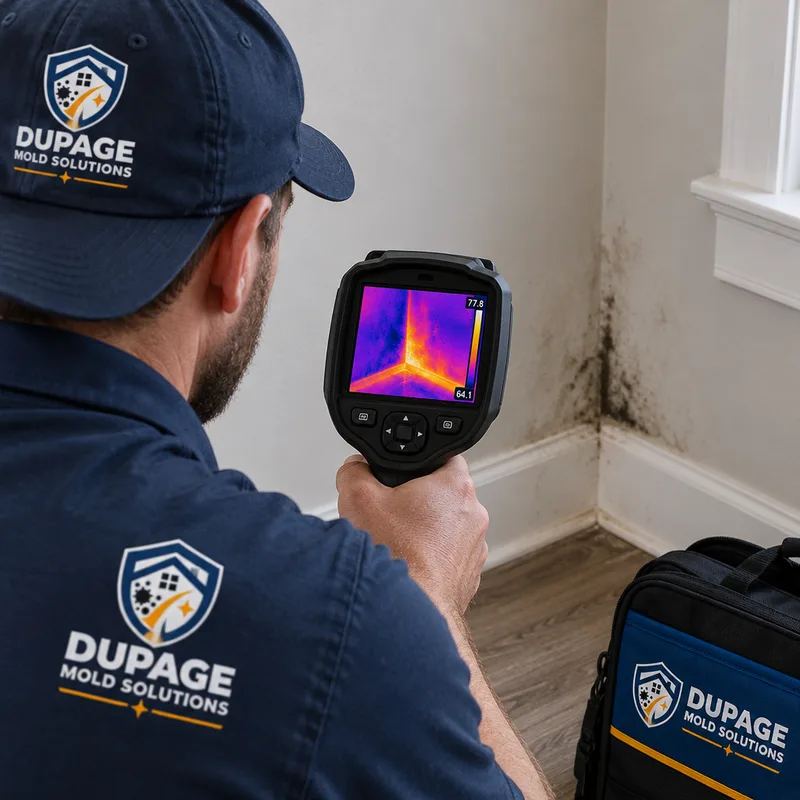
We can often narrow down suspect areas non-destructively using moisture meters, infrared screening, and inspection of adjacent spaces, trim lines, and penetrations. If readings suggest a hidden wet cavity, we explain what limited openings would be most informative and why, so any demolition is minimal and purposeful.
If possible, avoid running humidifiers or ozone machines, do not disturb visible growth, and make sure we can access the areas of concern. Clear under-sink cabinets, move stored items away from basement walls, and unlock utility rooms. If you know where prior leaks occurred, gather any repair notes or photos so we can connect timelines to current conditions.
Next steps depend on what is wet and why: the moisture source must be corrected, and affected materials may need controlled removal and cleaning. If you choose to proceed, DuPage Mold Solutions can explain the expected containment approach, what materials are typically removed versus cleaned, and what post-work verification should look like based on the areas involved.
Tell us what you are seeing and where it is happening. We will schedule a Naperville mold inspection that focuses on the moisture source, documents conditions clearly, and gives you a practical plan for what to do next.